Create your account
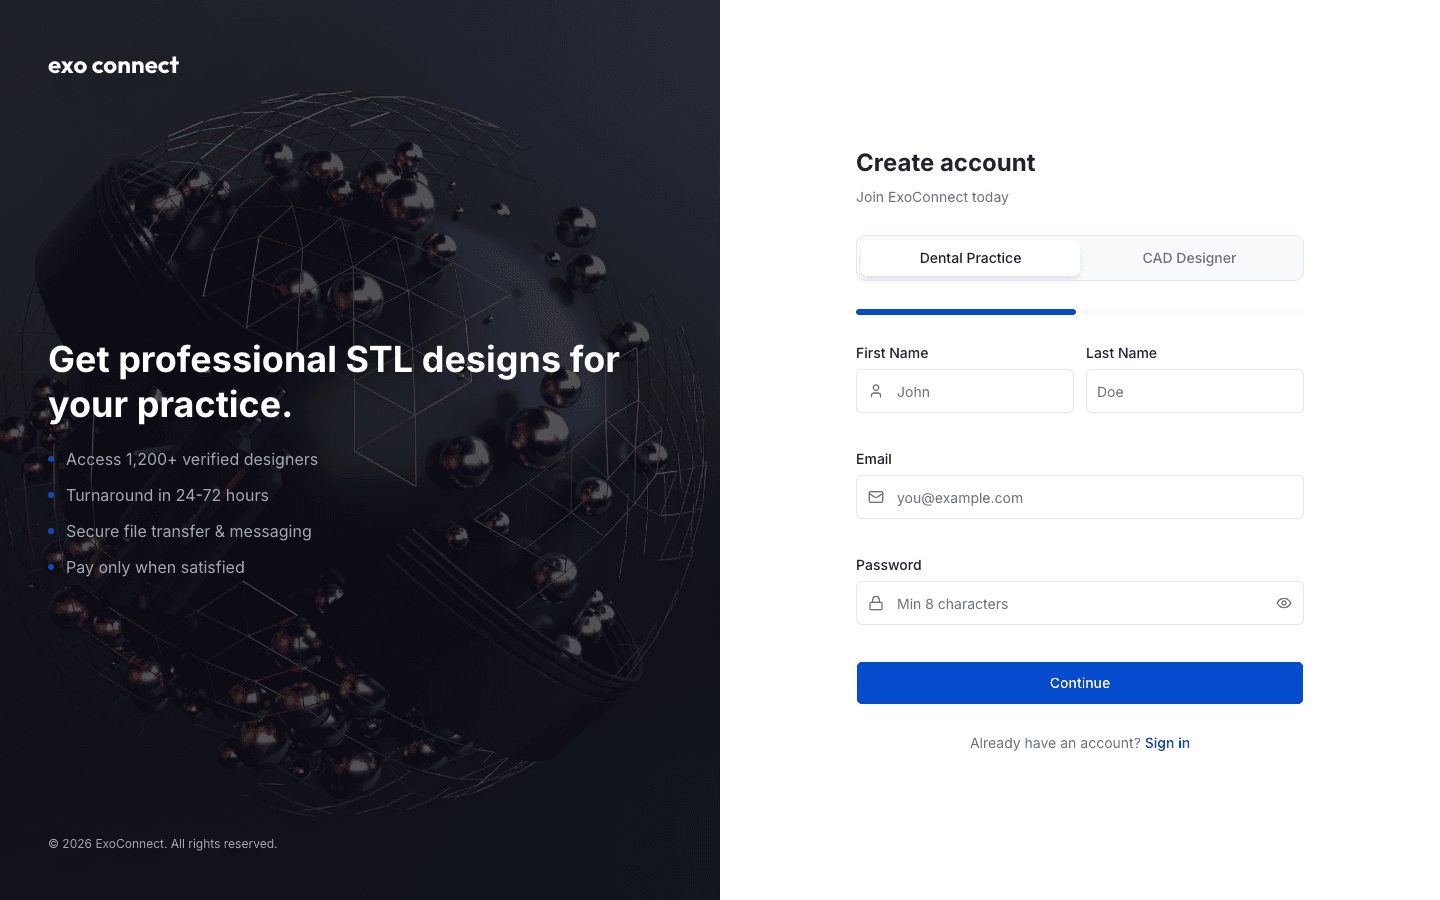
Go to the sign up page and make sure Dental Practice is selected at the top. That toggle decides which kind of account you get, so it is worth a second look before you type anything.
Fill in your first name, last name, email and a password of at least 8 characters, then click Continue.
Step 2 asks about your practice: practice name, location and practice type. Click Create Account when you are done.
We then email you a 6 digit code. Enter it on the verification screen and click Verify Code. That is your account activated, and you can sign in.
If the code does not turn up in a couple of minutes, check your spam folder before you try again.
Find your way around
Once you sign in you land on your Dashboard. Everything lives in the menu down the left.
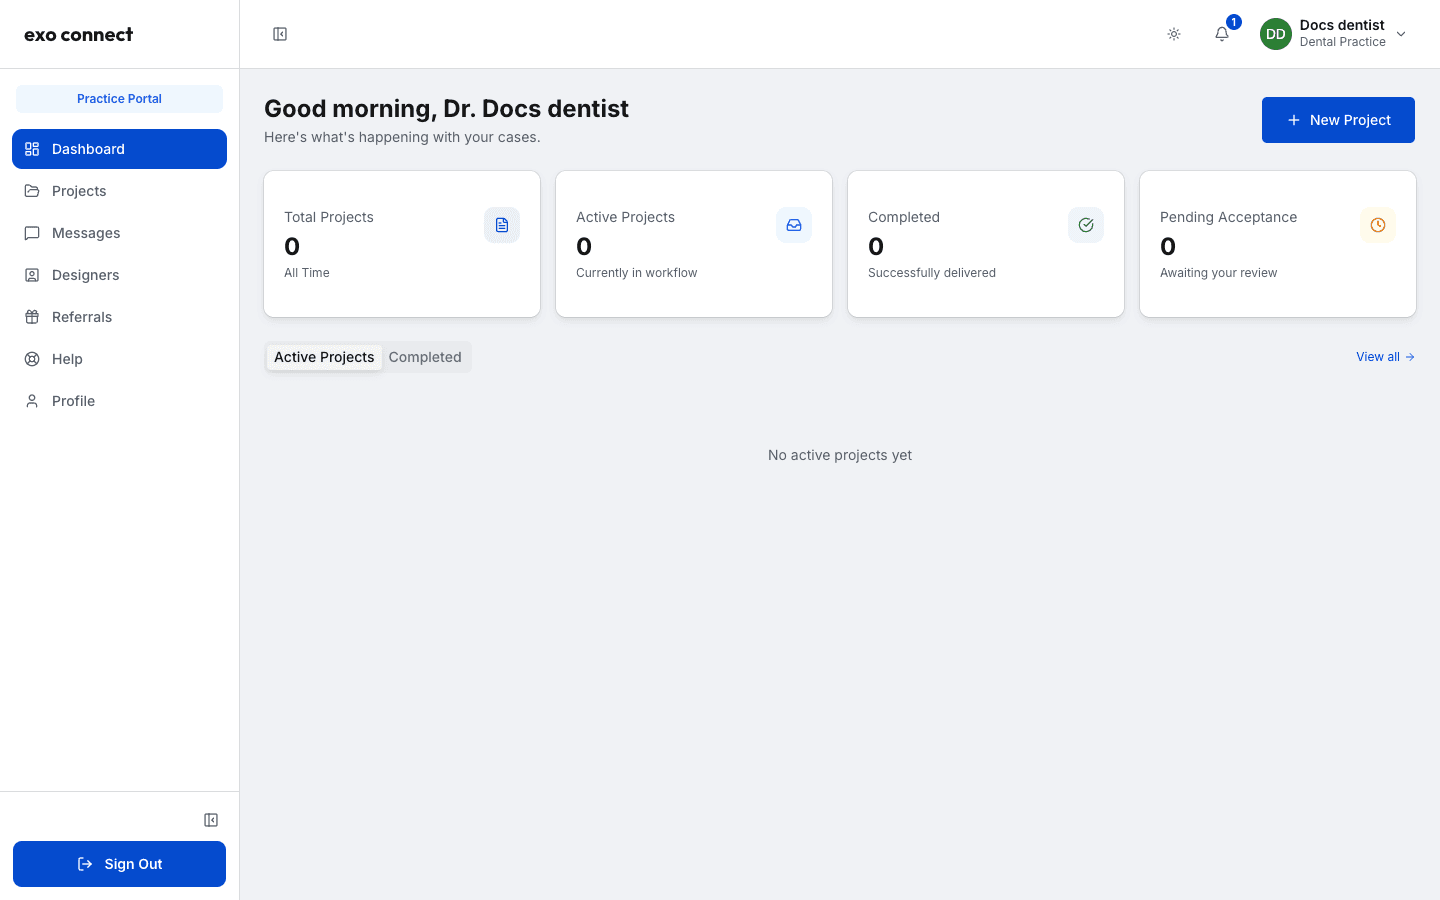
- Dashboard - your case counts and what is currently active.
- Projects - every case you have posted, with filters for each status.
- Messages - your conversations with designers.
- Designers - browse designers and their work.
- Referrals - your referral code and what you have earned.
- Help - this help center, which opens in a new tab.
- Profile - your details and password.
Two small things in the top bar. The sun icon opens a Light / Dark / System menu, so ya'll can switch to dark mode whenever you like. The bell next to it is your notifications.
The collapse control at the bottom of the menu (and the matching icon in the page header) shrinks the sidebar down to icons when you want more room on screen.
Post your first case
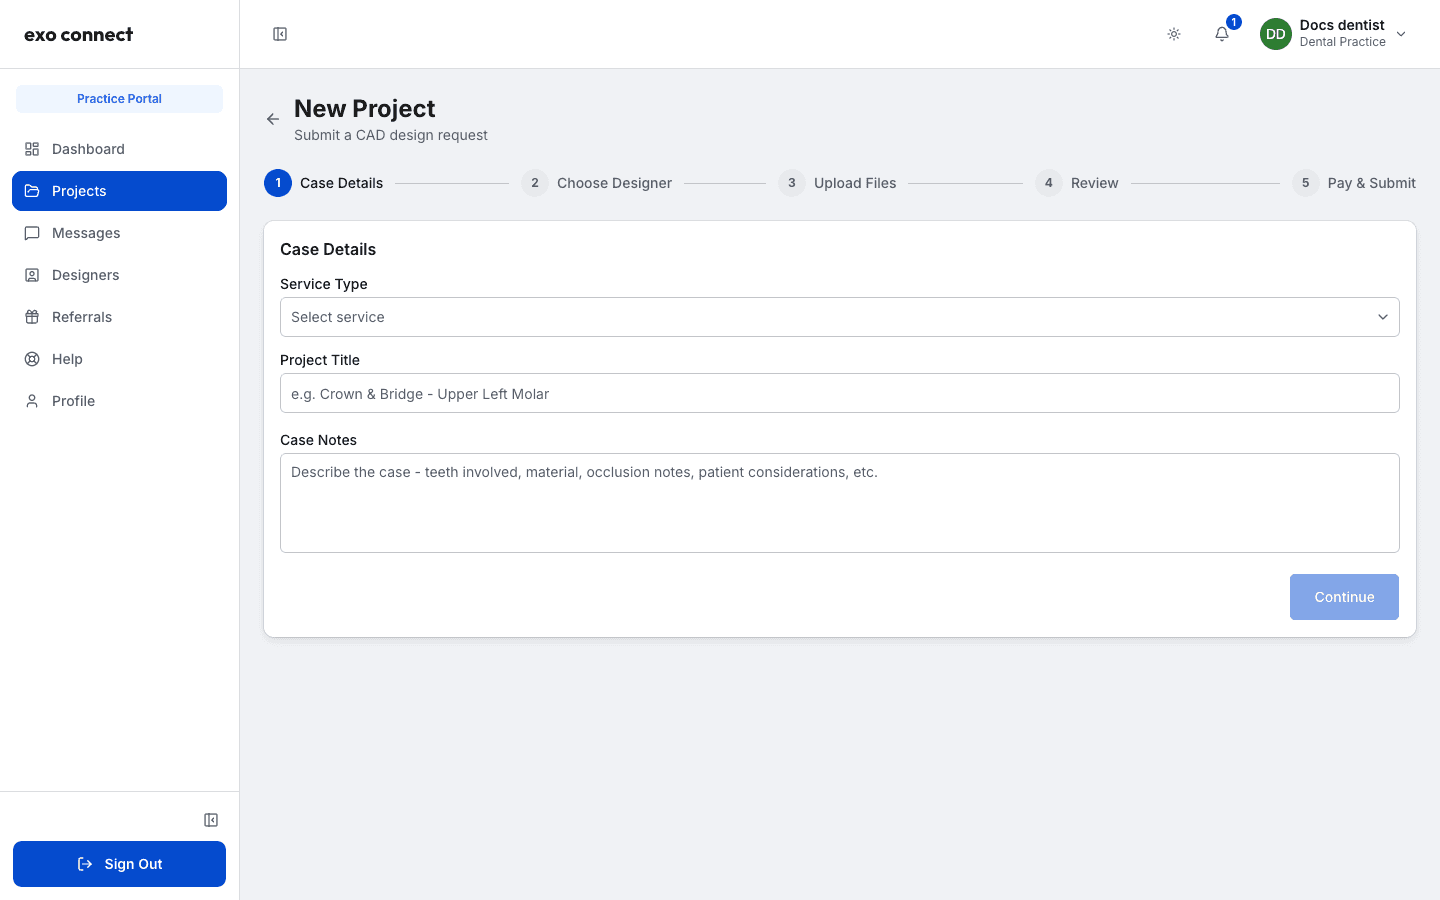
Click New Project from the Dashboard or the Projects page. It walks you through five steps.
1. Case Details. Pick a service type, give the project a title, and write your case notes. Say what the designer needs to know: teeth involved, material, occlusion, anything unusual about the patient.
2. Choose Designer. You will see the designers who offer that service, with their price. Click a designer, then click their service in the pop up to lock in that designer and price.
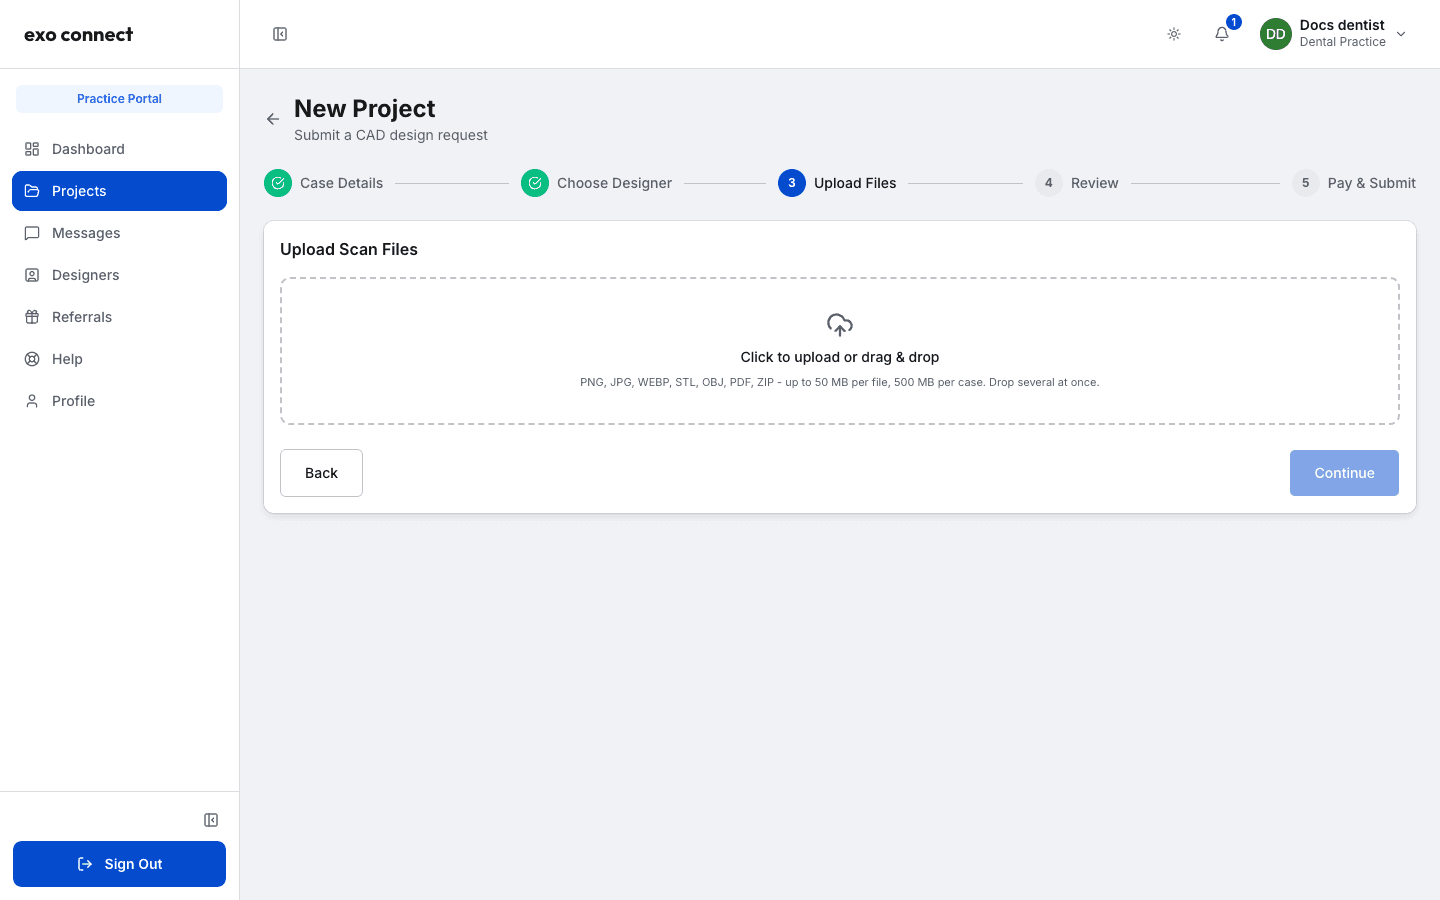
3. Upload Files. Drag your scan files onto the box, or click it to browse. You can drop several at once.
4. Review. A last look at the case, the designer, your files and the total.
5. Pay & Submit. Enter your card and click the Authorize button.
Here is the part worth knowing: your card is authorized, not charged. We place a hold for the amount, and you are only charged once a designer accepts your case. If nobody takes it on within 6 days, the hold is released and you pay nothing.
What happens next
When a designer accepts, you get a notification and the case moves to In Progress. Your card is charged at that moment.
From there, everything for that case lives in one place. Open it from Projects and you get the files, a 3D preview, the case history and a conversation with your designer, all on the same screen.
When the designer hands work in, you can accept it, ask for a revision, or open a dispute if something has gone wrong.
Have a look at Cases and files for a tour of that screen, and Payments and refunds for how the money side works.