Create your account
On the sign up page, switch the toggle at the top to CAD Designer. That is the step people miss, and it decides which kind of account you end up with.
Enter your first name, last name, email and a password of at least 8 characters, then click Continue.
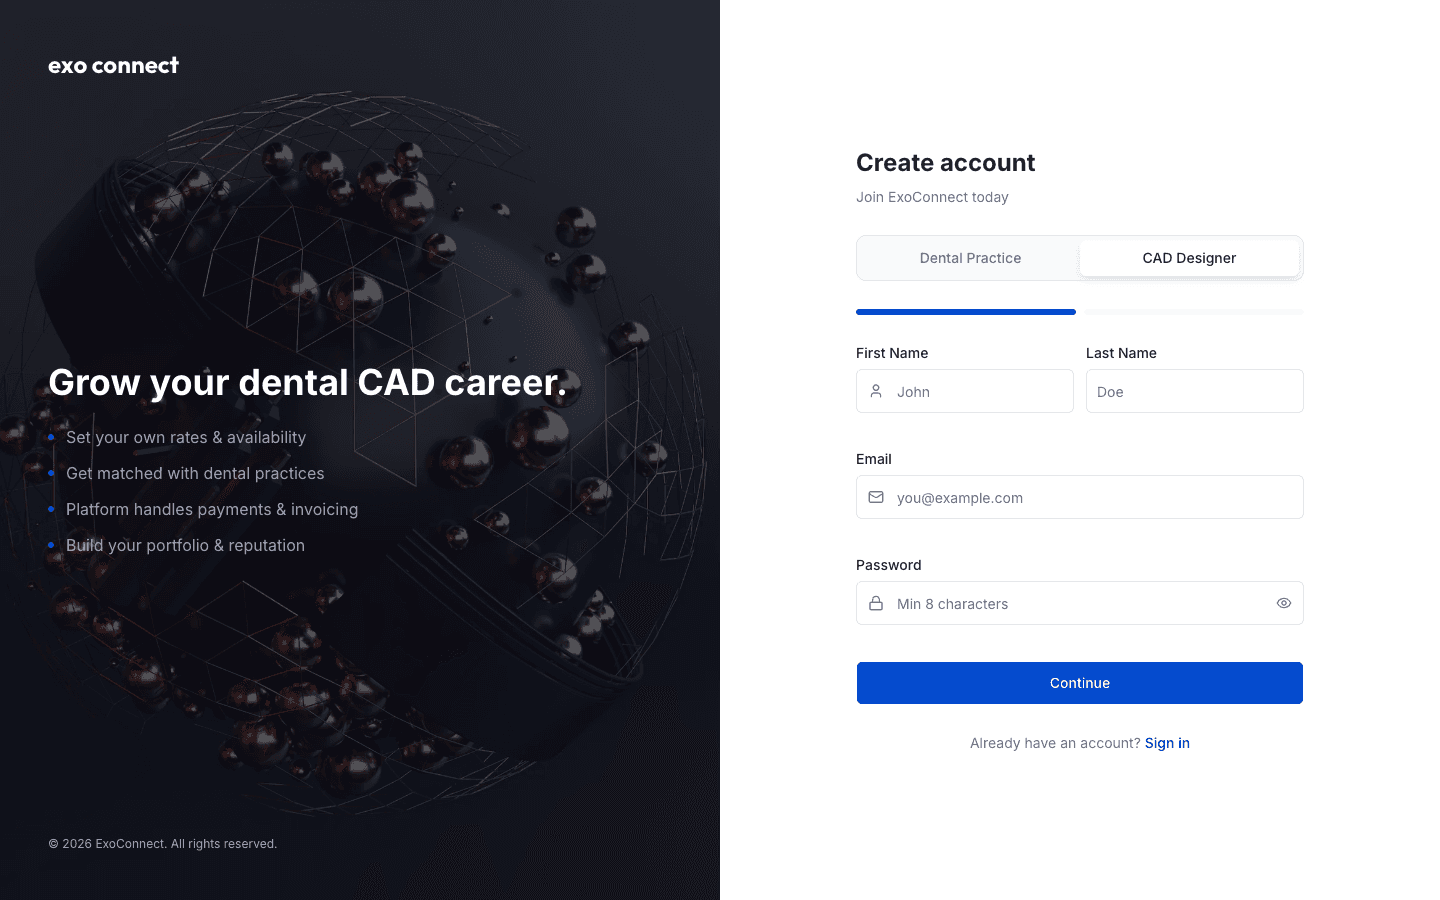
Step 2 asks for your specialization, years of experience and location. Click Create Account, then finish the plan step and the email code we send you.
Fill in your profile
Your profile is what dentists see when they are choosing someone, so it is worth twenty minutes.
Go to Profile in the left menu. Under Basic Profile Info, add your location, a professional title and a biography. Say what software you work in and how you like to work.
Add your Specializations one at a time. Type one, click Add, repeat.
Under Portfolio / Work Samples, upload images of your work. You can add up to 12 at a time, and they show publicly on your profile.
Click Save Profile when you are done. There is also a Preview Profile button in the left card, which opens your public profile exactly as a dentist sees it.
Set your services and prices
Scroll further down the Profile page to My Services & Pricing. This is the part that gets you work.
Pick a service from the dropdown, type your price, and click Add Service. Repeat for everything you offer. Each one can be edited or removed later from the list underneath.
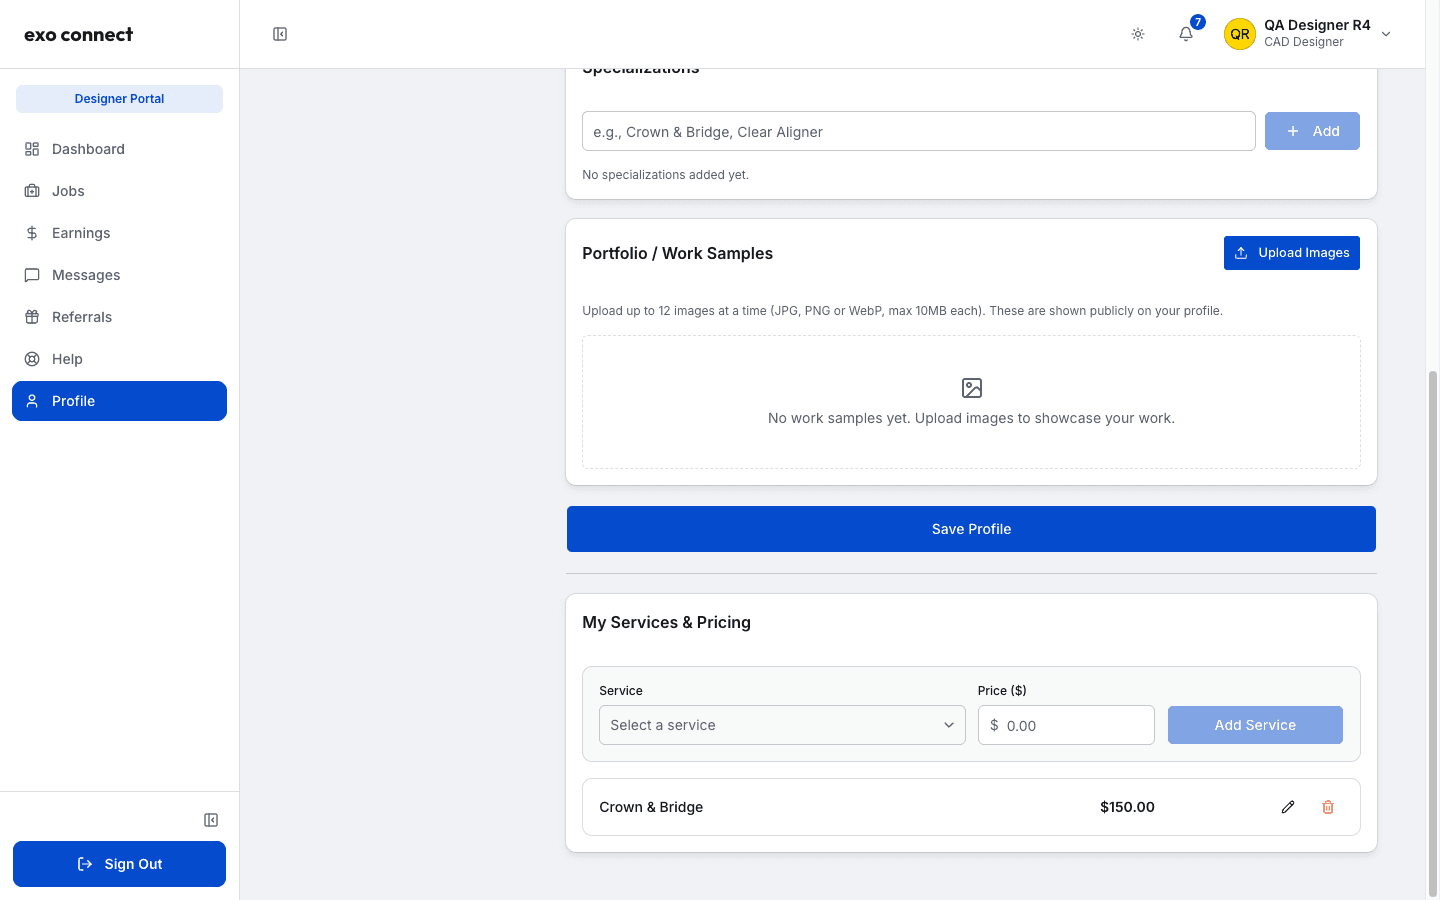
A dentist only sees you in their search when you have listed the service they are looking for, at a price. No services listed means no jobs.
How jobs reach you
Open Jobs in the left menu. New work lands in Incoming Job Requests at the top of that page.
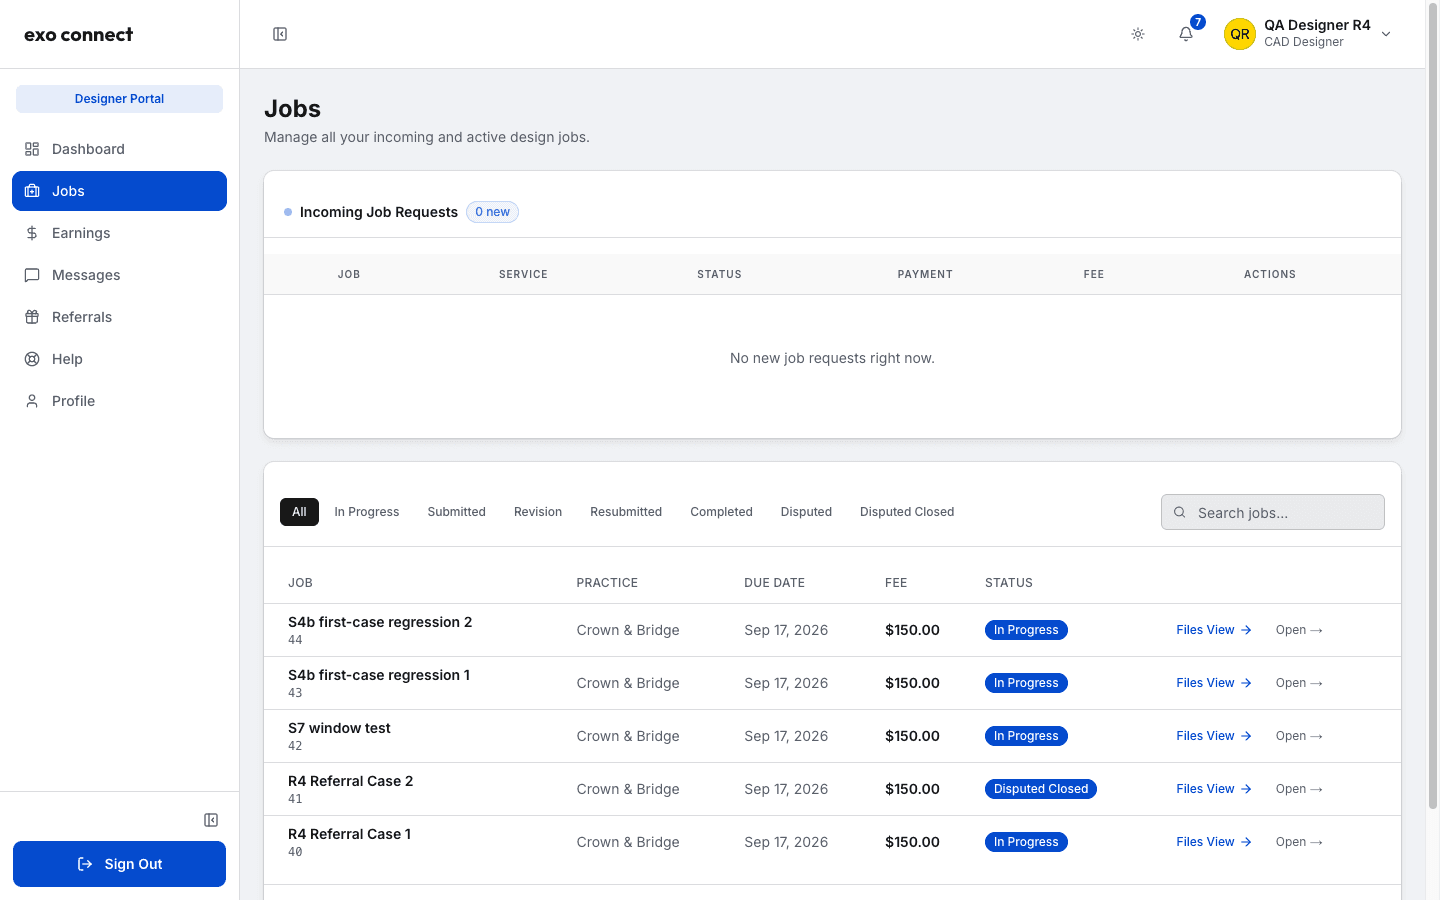
Before you commit to anything, click View details on the row. That shows you the dentist's full case notes, the service, the fee, the quantity and how many scan files are attached. You can read all of it before you decide.
Then it is Accept or Decline. Declining cannot be undone, so read the notes first.
The moment you accept, the dentist's card is charged and the case moves to In Progress. The case workspace opens up to you, with their scan files and a conversation thread.
Hand your work in
Open the job and click Upload files, in the left rail or in the Files tab.
Drop your deliverables into the box. You can add several at once. Wait for every file to finish, then click Submit Files.
That does two things: it attaches your files to the case and it moves the case to Submitted, which tells the dentist there is something to look at. The dentist can then accept it or send it back for a revision. A revision goes through exactly the same Upload files dialog.
Getting paid
Your money lives on the Earnings page.
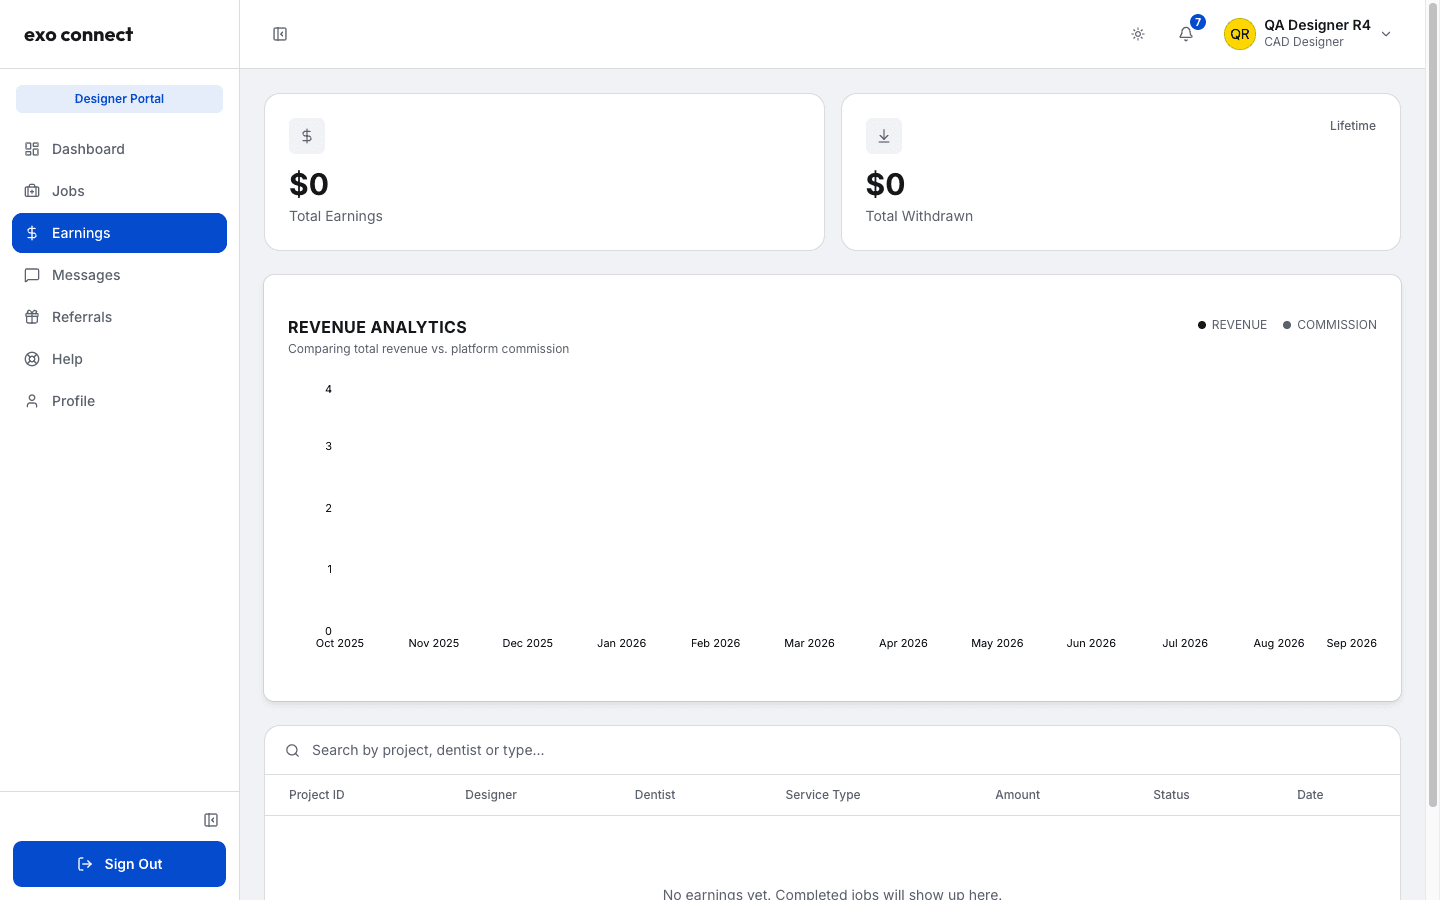
At the top you get Total Earnings and Total Withdrawn, then a revenue chart, then a row for every job you have been paid on with its project number, service type, amount, status and date.
Your share is released when the dentist accepts your design. ExoConnect keeps a 12% commission and the rest is yours.
Before any of that can reach you, you need your payout account set up. If it is not, your Dashboard shows a "Your Payment Gateway setup is incomplete" notice with a Setup Payment button. Click it, finish the short form, and payouts start flowing. Until then your earnings sit waiting.
Two more things
Referrals in the left menu gives you a personal code and share link. If a dentist signs up through your link and pays for a case, you earn a percentage of it. There is a whole article on that: ExoConnect referral program.
Help opens this help center in a new tab, so your work stays where you left it.